RPGMaker Effects
Intro
hello hello! welcome to my page! here i will document and explain many fun visual effects to add in your rpgmaker game.
the version i will be using is RPGMaker MV, as it's the one i have and many popular games use.
this page will serve as a little tutorial and resource for beginners, so i'll do my best to explain as much as possible and provide visuals. all of these features can work together however you see fit, so mix them together! i'm not too good of a programmer to tell you how optimized each feature is, but if you have any concerns, be sure to playtest thoroughly and not overthink it too much - there's always time to fix things :)
to help beginners, i will also be addingone last thing!! i'd like to credit im rob for the inspiration of this website! you should check out their tutorials with blender shaders, they're very good.
that should be all i think! if you have any questions, contact me anytime! i'm very open to questions or comments about anything i might've glossed over.
Table of Contents
Gradient Wipe Transition
this visual effect allows you to customize the "Fade In" and "Fade Out" events that may trigger when navigating rooms or transitioning into a cutscene.
what you'll need:
- "Gradient Wipe" by Tsukimi
- A drawing program (preferably)
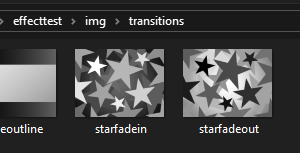
to start, we'll want to set up the
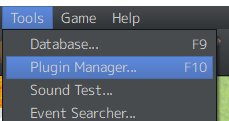
in your tools tab, find the Plugin Manager (or press F10) to then add the Gradient Wipe plugin into a blank spot (you'll know it's working if the status is ON).
the plugin's
so the plugin's working. now what? now we need to understand how this plugin uses gradients to make cool animations.
to put it simply, the plugin takes the brightness value of each pixel and displays them one by one. For example, take this
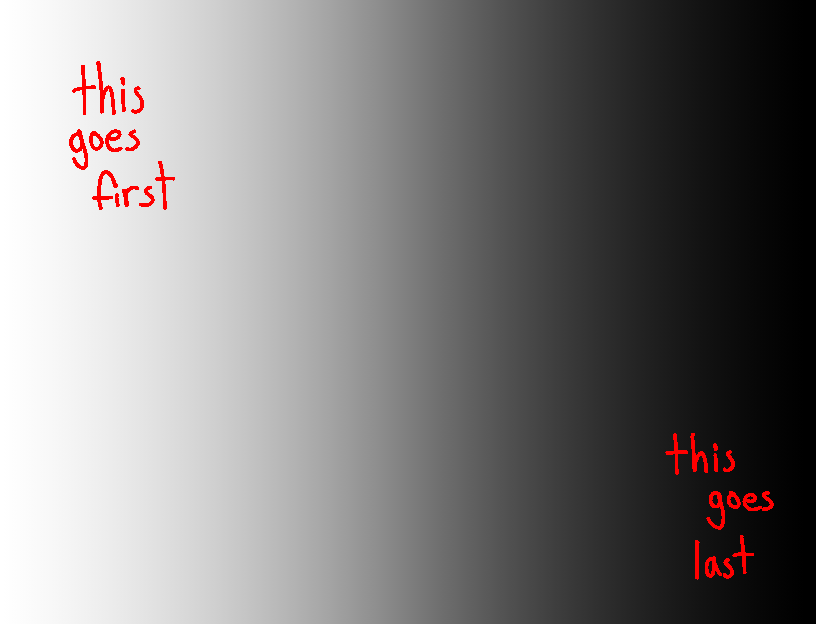
using this, we can create fun patterns that play around with these values.
let's start simple and keep the linear gradient, but change the brightness around.

notice how drastic the brightness changes are? since the plugin fades in & out at a very
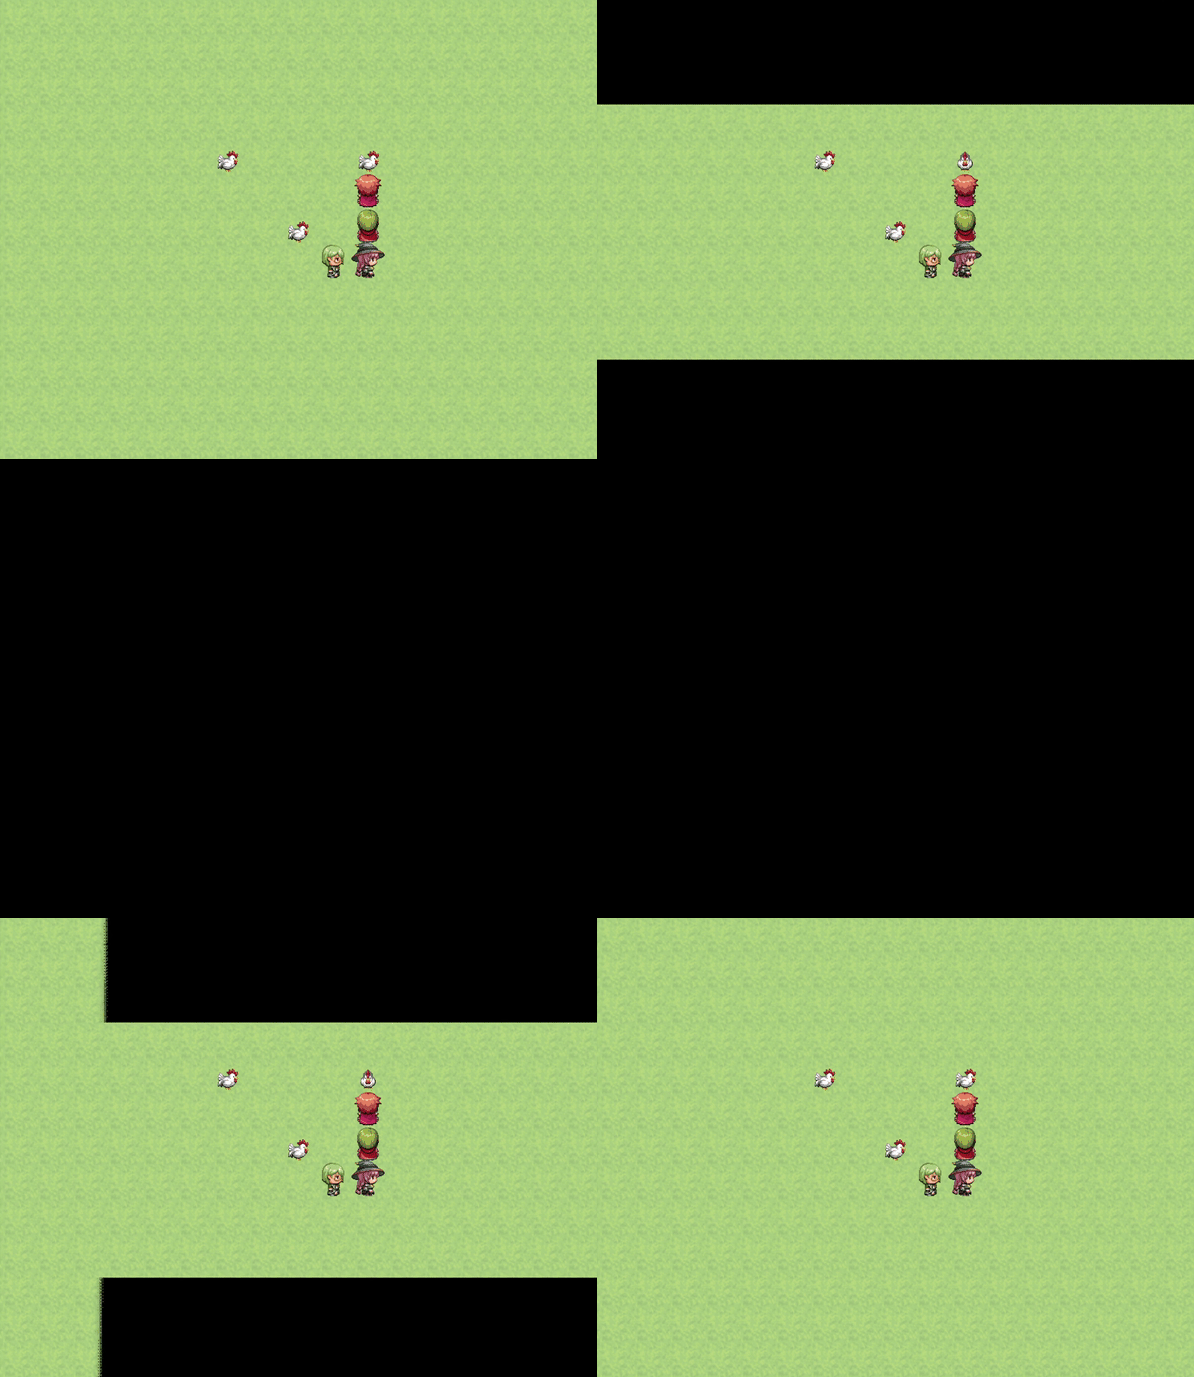
we can also layer gradients and flat-colored elements together, resulting in fun transitions:


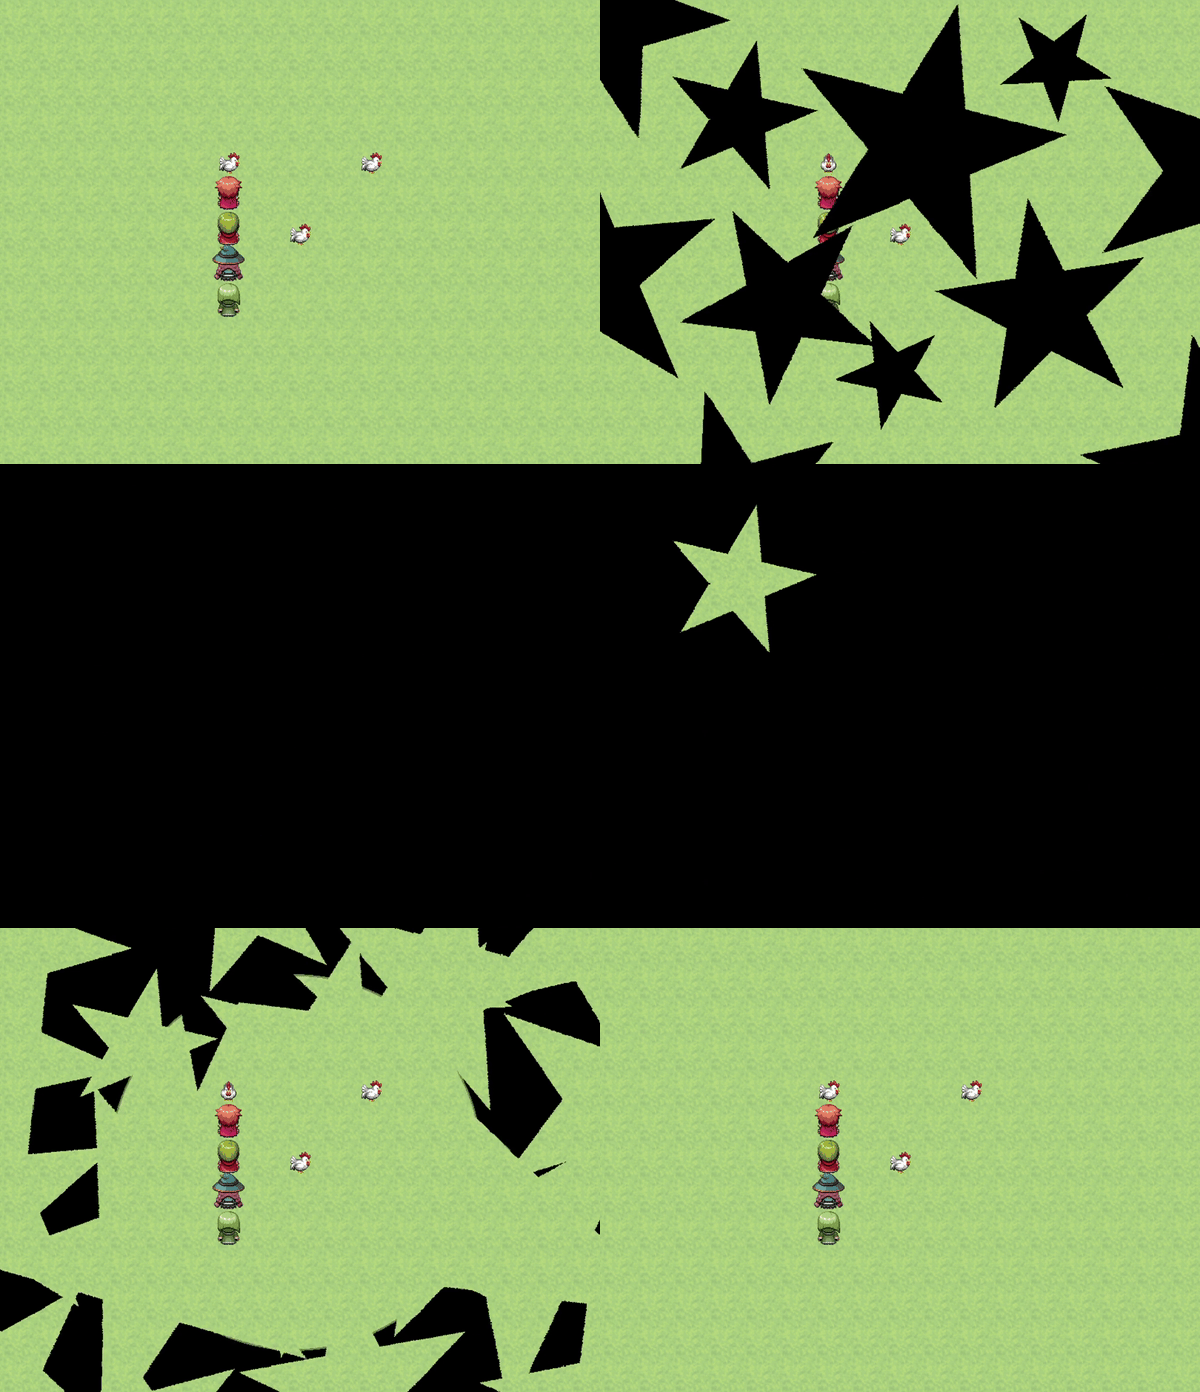
of course, not everyone can spend that much time figuring out how to get these results. searching "gradient wipe" in a search engine can get you some images to import and try out! as long as it's a monochrome gradient, it should get you a decent result.
Layered Parallax Background
this visual effect gives you a layered, moving background using just a few images.
what you'll need:
- "MV Layer Graphics" by Galv
- A drawing program (preferably)((again))
we'll want to set this plugin up the same way you'd set up Gradient Wipe - however, this time, create a "layers" folder in your "img"
instead of editing inside the plugin manager, we'll have to use the
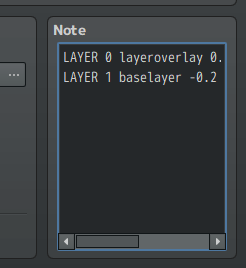
when layering a map, Layer Graphics follows this kind of script:
LAYER ID GRAPHIC XSPEED YSPEED OPACITY Z XSHIFT YSHIFT BLEND
this may look very scary, but the plugin's help sheet has explanations for each property. but for beginners, i'll break down the properties here:
LAYER - keep this the same, this is what the plugin looks for to trigger the effect!
ID - a value to refer to the layer. (ex: if you wanted to edit layer with the id "X", you'd refer to it by "X".)
GRAPHIC - name of the file to use, leave out the .png part and remember to save it in the "layers" folder.
XSPEED - how fast the layer will go horizontally. positive #s go right, negatives go left.
YSPEED - how fast the layer goes vertically. positive #s go down, negatives go up.
OPACITY - the transparency of the layer (0 - 255)
Z - how far down/far up the layer sits. anything lower than 0 will be below all characters, 0 is the ground, and anything higher than 0 will be above characters.
XSHIFT - horizontal movement shift of the layer that doesn't follow the player camera.
YSHIFT - vertical movement shift of the layer that doesn't follow the player camera.
BLEND - if you're familiar with drawing programs, blend modes will change how the layer graphic will blend with the surroundings. 0 = normal, 1 = add, 2 = multiply, 3 = screen.
using these properties, we can create a cool trippy effect by having the layers go in opposite directions. but wait!!! we need to actually draw the layers!!!

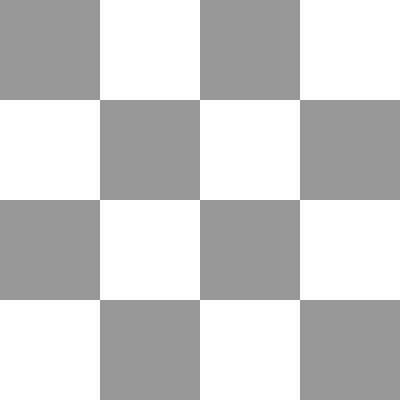
for this example, i created some graphics to represent each layer. the big rectangle one is the bottom layer, a bit darker than the overlay. the checkered one will be our
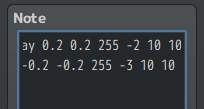
now, all we have to do is just use the formula inside the map's notes. the only thing you should really concern yourself with is the speeds and the Z properties. for Z, you'll want your overlay to be on a negative ABOVE your base (ex: overlay = -2, base = -3).
for speed, i recommend putting it slow, about 0.2, and then make it negative for the other layer to have it go in opposite directions.
if you're still a bit confused, here is the exact formula i used:
LAYER 0 layeroverlay 0.2 0.2 255 -2 10 10 0
LAYER 1 baselayer -0.2 -0.2 255 -3 10 10 0
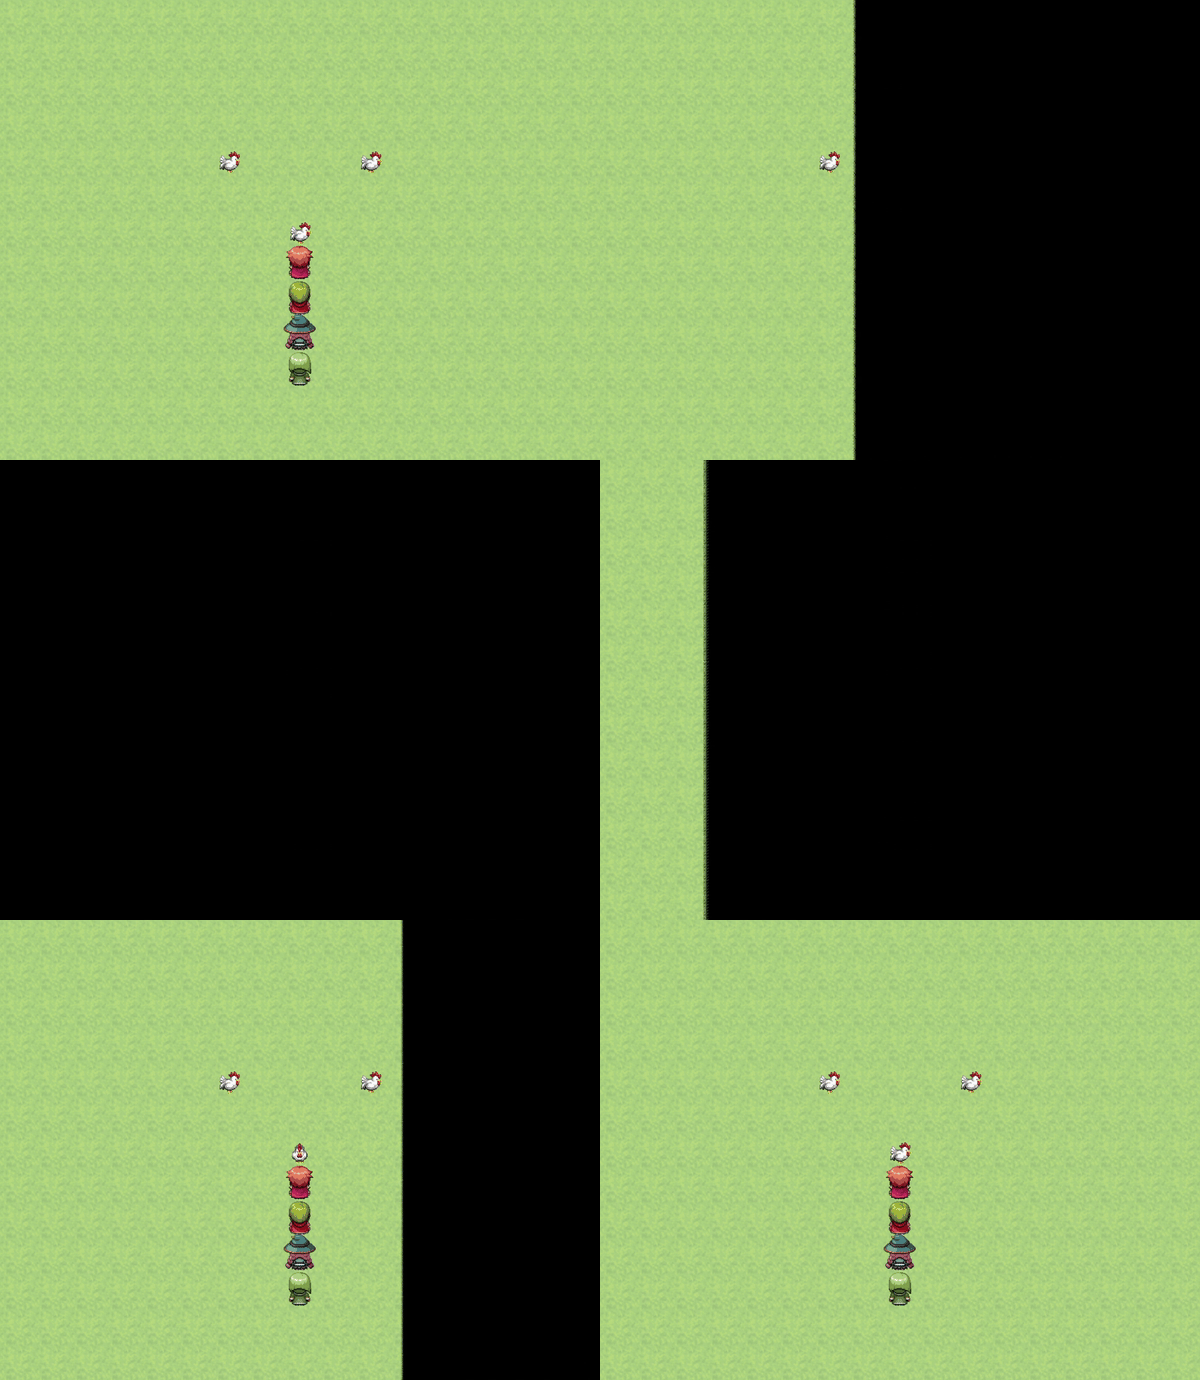
it should look like this:
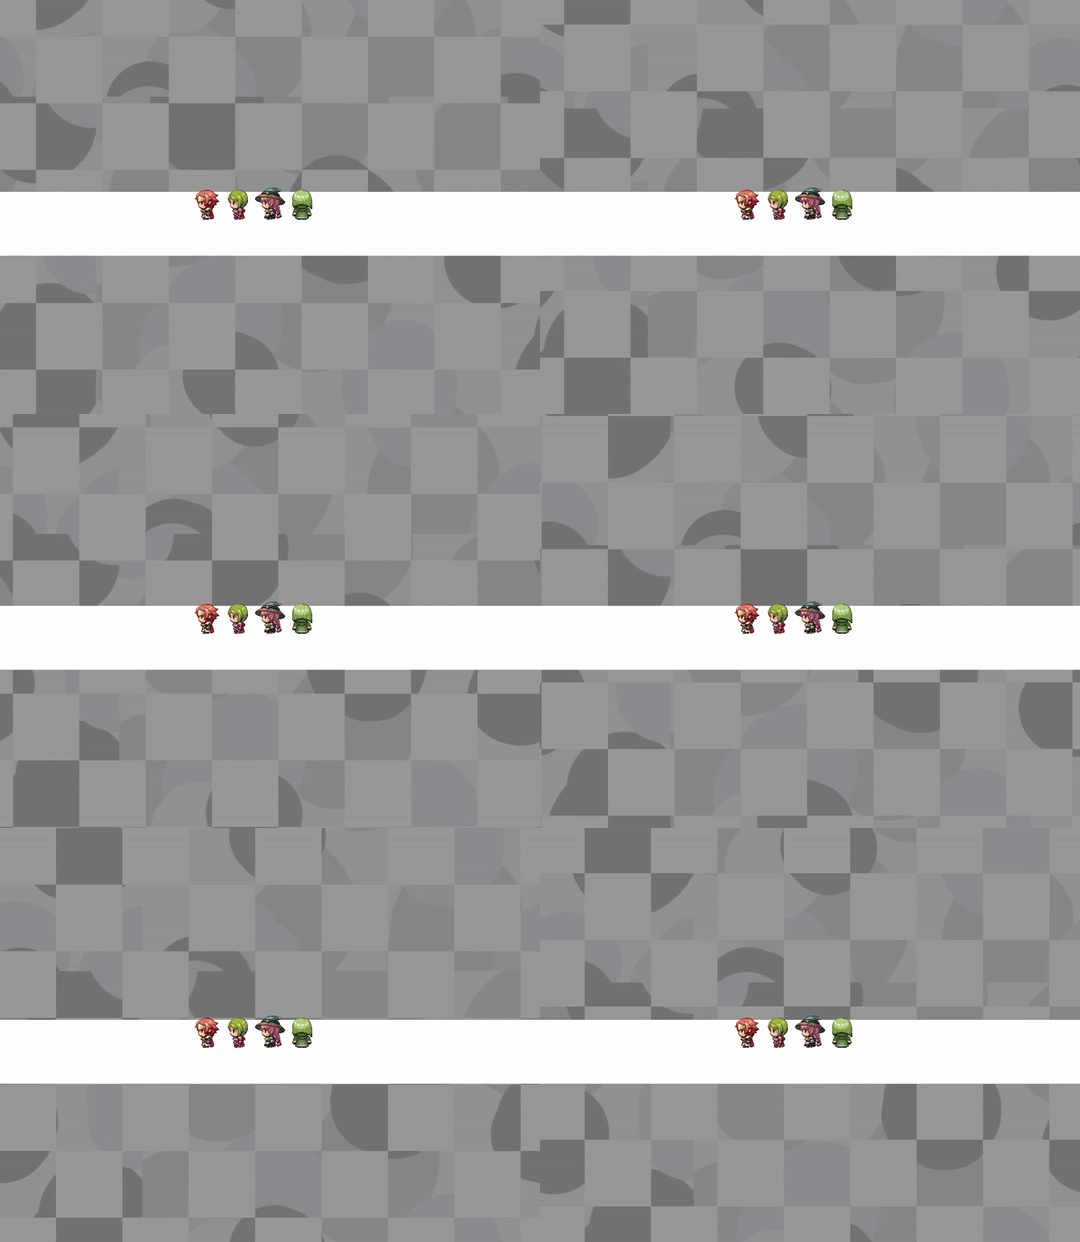
and if you want a better example of how to style it, TAKE A LOOK:
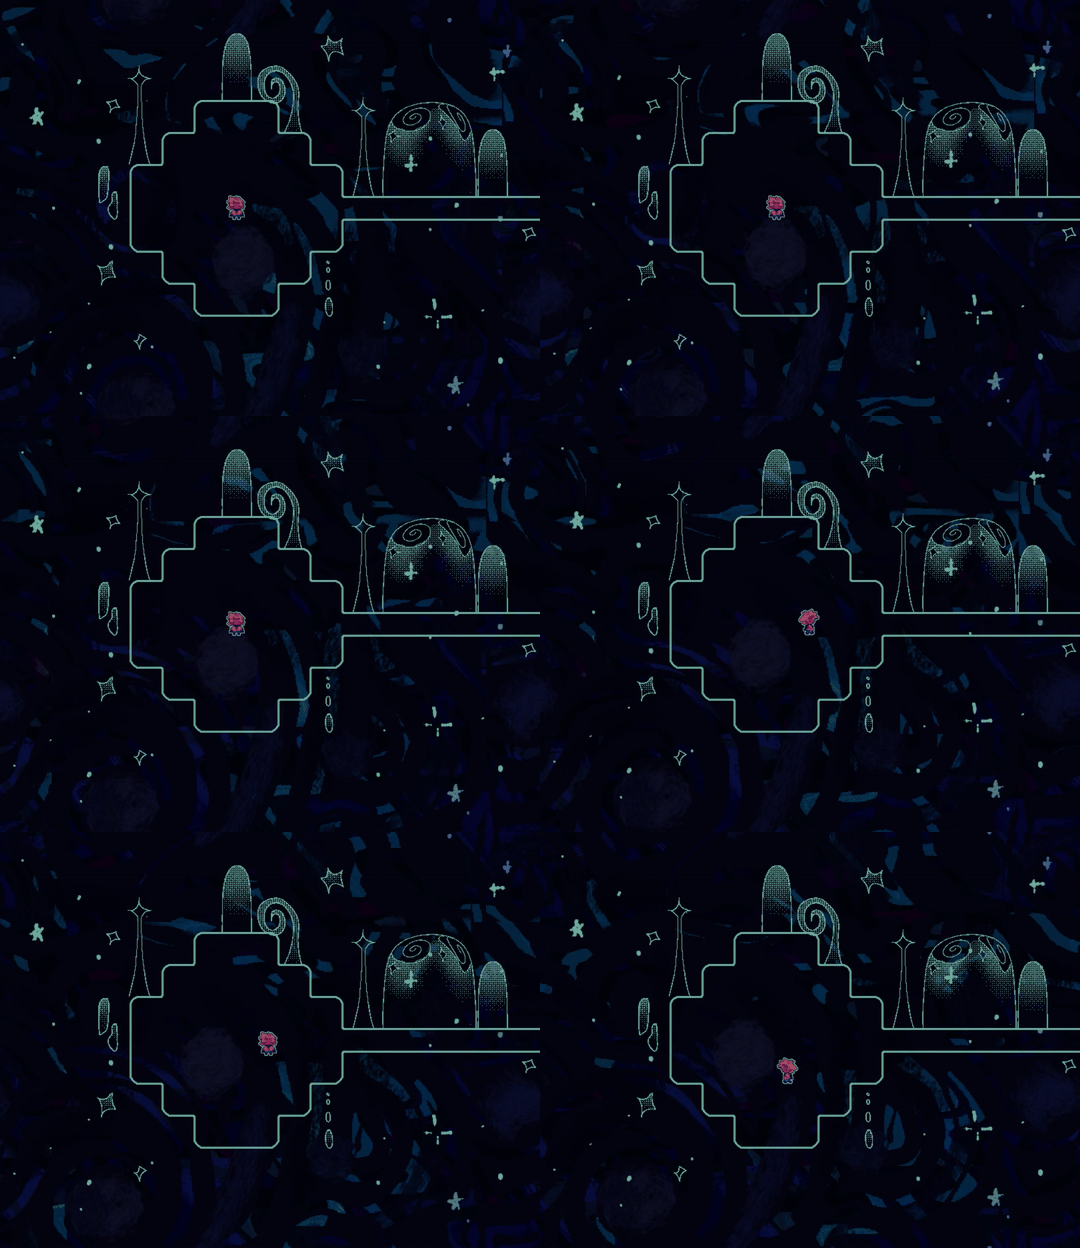
BAM. SPOOKY. MYSTERIOUS. COOL. i really like this effect. i highly recommend you try it out!
Other Resources
if you're wondering if there are going to be more tutorials for specific plugins, maybe!!!!! these take a long time to make, and i myself haven't used every visual effect the MV community has to offer. additionally, a lot of the visual effects in rpgmaker boil down to artistic direction and using event commands. experiment withbut if you're interested in more plugins and resources to look into, here's a list of plugins i've used and highly recommend:
- Moghunter's Animated Title Screen - allows you to reposition elements on the title screen and customize them to your liking. Link also leads to many other visual-enhancing plugins
- Irina Visual Novel Busts - lets you put visual novel-like pictures as faces in message boxes. Costs $15 USD
- Galv Basic Event Shadows - puts shadows on characters and events with custom parameters you can edit
- Tyruswoo Follower Control - allows you to control other party members through event commands without them following the player
- SRD Battle Background Scroll - lets you animate the background of battles by having them scroll vertically or horizontally
these creators have many more plugins for MV that enhance visuals, but these are some that i personally got much use out of! there are, of course, plenty more creators out there who are posting innovative and creative resources, so please go out there and research whatever you might need! and by research i mean googling the same "how to ____" statement over and over and hoping an rpgmaker forum pops up.
Outro
that's it for now! this page will be a living, growing document that i'll update as my experience gets better, or if people ask for specific tutorials on plugins. i figured it'd be nice to put out a page like this, since it's not often you find tutorials on How To Make Your Game Look Pretty.you are also free to use any example assets i use in this site! i will do my best to polish every example as much as possible, that way it can be used by anyone.
if you'd like to support me, i would appreciate it if you could check out my indie game Passionstruck - it uses a lot of the effects I talked about here, and is a big passion project (ha) of mine that i hope to pursue in the future. if you like good art, funny dialogue, and generally good games, it'd mean the world to me if you could give it a try. :)
that's mostly it for now! thank you for reading, and have fun making your game!